

Customization,
OH YES!
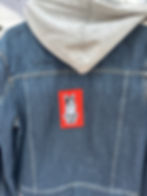
Contact me if you'd like a custom design made. No two garments are ever exactly the same. All pieces are handmade and imperfectly perfect. Many of my garments are true vintage pieces so there is only one of each. Part of my joy is HUNTING for YOUR special piece and bringing it to life with something uniquely you on it!
Featured Collection


Chic & Unique
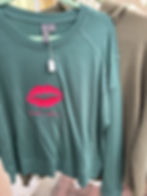
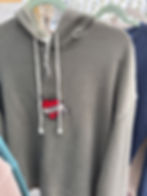
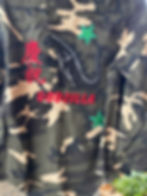
At Upcycle in Style, we redefine fashion by creating one-of-a-kind upcycled jackets adorned with custom embroidery and rhinestones. Each piece is an original art piece signed by the designer and showcases a blend of creativity and sustainability.

Each piece is meticulously crafted to reflect individual style, making a statement while promoting eco-conscious choices. We aim to inspire a fashion revolution that combines artistry with environmental responsibility.
Upcoming Events
 Maker's Market Mill Valley Lumber Yard!Sat, Oct 18Mill Valley
 Maker's Market Santana Row!Sat, Oct 11San Jose
 Maker's Market Napa!Sat, Oct 04Maker's Market Napa